
This lesson is made with PSPX9
But is good with other versions.
© by SvC-Design
Materialen Download :
Here
******************************************************************
Materials:
davina-cadre.pspimage
Hüzünlüyıllar deco 1.png
Hüzünlüyıllar deco 2.png
Sah Lisette Moon Light Deco.png
Sah Moon Light Angel Gradient.grd
Sah - Lisette Moon Light Angel Mask.png
Sah - Lisette Moon Light Angel - Perspective Shadow.f1s
Sah-Lisette Moon Light Angel Selection-1.PspSelection
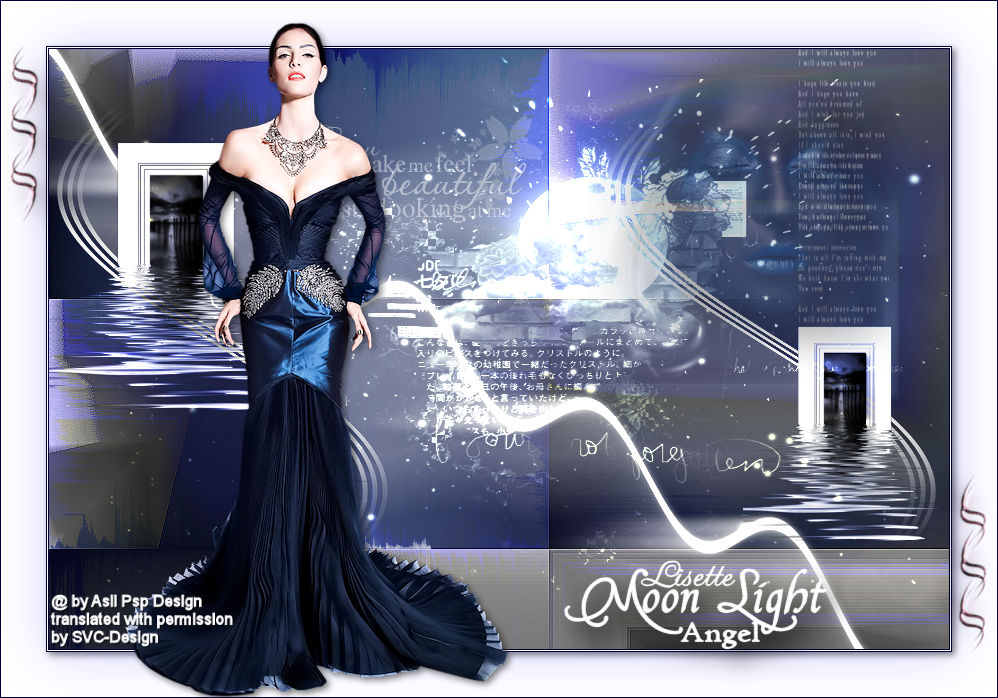
Sah Lisette Moonlight Angel Text.png
Text 1.png
text 2.png
Manzara Jpg.jpg
Mary 0812-70.png
Mary 220112-1.png
******************************************************************
Plugin:
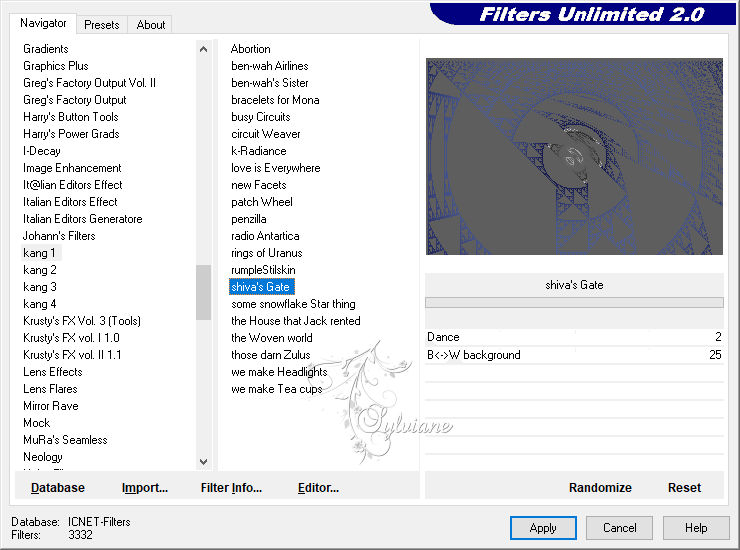
Plugin - Unlimited 2.0 -kang 1 - Shiva'sGate
Plugin - Mehdi - SortingTiles
Plugin – Flaming Pear - Flood
Plugin - Alien Skin EyeCandy 5:Impact -PerspectiveShadow
******************************************************************
color palette
:

******************************************************************
methode
When using other tubes and colors, the mixing mode and / or layer coverage may differ
******************************************************************
General Preparations:
First install your filters for your PSP!
Masks: Save to your mask folder in PSP, unless noted otherwise
Texture & Pattern: Save to your Texture Folder in PSP
Selections: Save to your folder Selections in PSP
Open your tubes in PSP
******************************************************************
We will start - Have fun!
Remember to save your work on a regular basis
******************************************************************
Preparation
Foregroundcolorto #FFFFFF
Background colorto #000134
1.
Open a new transparent image of 900x600 pixels
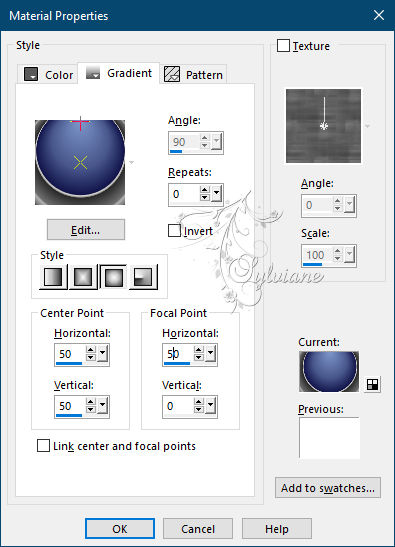
Fill With Your Gradient
Layers - Duplicate
Plugin - Unlimited 2.0 -kang 1 - Shiva'sGate
BlendMode: Hard Light
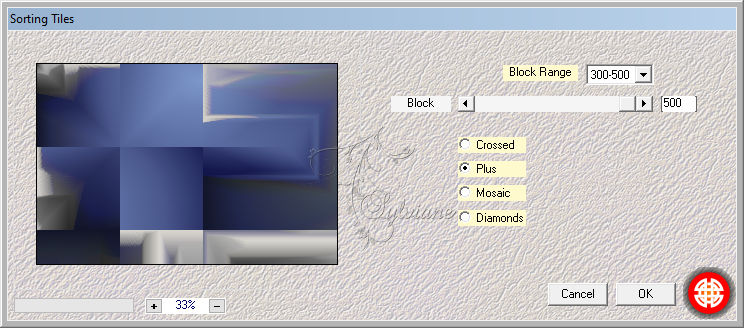
Plugin - Mehdi - SortingTiles
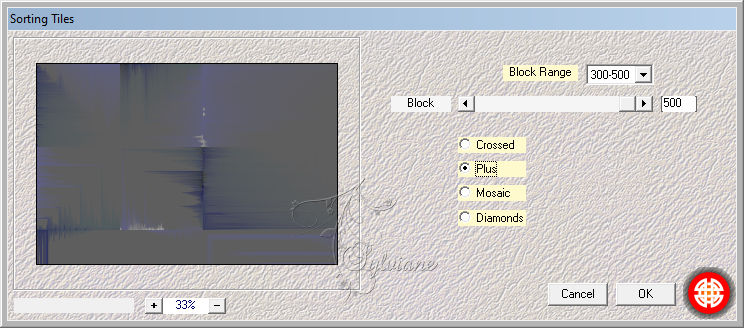
Activate Raster 1
Plugin - Mehdi - SortingTiles
Effects - EdgeEffects - Enhance
Layers - Merge - MergeDown
2.
Open - Deko- Hzünlü Yıllar Deco 1
Edit - Copy
Activate your work
Edit - Paste - Paste As New Layer
Activate selection tool (Press K on your keyboard)
And enter the following parameters:
Pos X : -54 – Pos Y :-4
Press M.
3.
Open - Deko- Hzünlü Yıllar Deco 2
Edit - Copy
Activate your work
Edit - Paste - Paste As New Layer
Activate selection tool (Press K on your keyboard)
And enter the following parameters:
Pos X : 8 – Pos Y : 55
Press M.
4.
Open -Deko-Davina- Cadre
Edit - Copy
Activate your work
Edit - Paste - Paste As New Layer
Activate selection tool (Press K on your keyboard)
And enter the following parameters:
Pos X :69 – Pos Y : 94
Press M.
Layers - New RasterLayer
Selections -Load/ SaveSelection-Sah Lisette Moon Light Sel 1
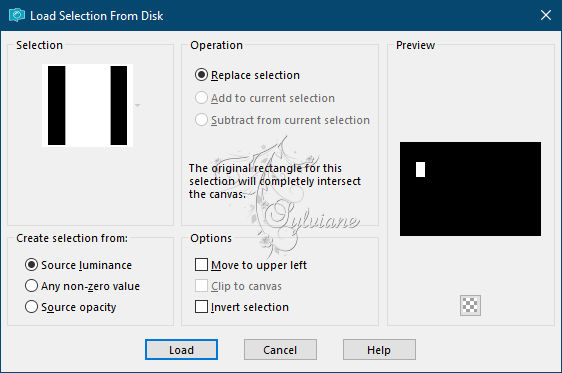
Open - Tube - Manzara
Edit - Copy
Activate your work
Edit - Paste - PasteIntoSelection
Effects -3D Effects - DropShadow
3/3/50/10 color:#000000
Selections - Select None
Layers- Merge - MergeDown
Plugin – Flaming Pear - Flood
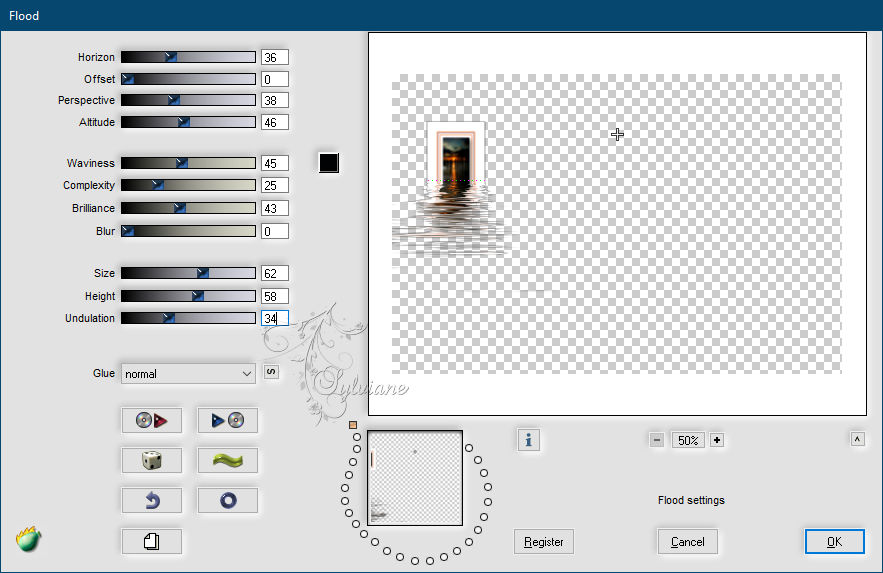
Blend Mode: Luminance
5.
Layers - Duplicate
Image - Resize -80%
Activate selection tool (Press K on your keyboard)
And enter the following parameters:
Pos X :694 – Pos Y : 277
Press M.
6.
Layers - New RasterLayer
FloodFill Background color #000134
Open Sah Mask Lisette Moon Light
Layers - New Mask Layer - From Image - Sah - Lisette Moon Light Angel Mask.png
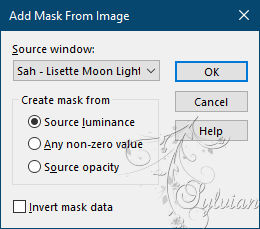
Layers - Merge - MergeGroup
BlendMode: Dodge
(You can also do Luminance (Legacy) accordingtoyourwork.)
Opacity 81
7.
Open- Text 1
Edit - Copy
Activate your work
Edit - Paste - Paste As New Layer
Activate selection tool (Press K on your keyboard)
And enter the following parameters:
Pos X :258 – Pos Y : 59
Press M.
Open - Text 2
Edit - Copy
Activate your work
Edit - Paste - Paste As New Layer
Activate selection tool (Press K on your keyboard)
And enter the following parameters:
Pos X :749 – Pos Y : 0
Press M.
8.
Open - Tube- Mary 0812-70
Image - Resize – 50%
Edit - Copy
Activate your work
Edit - Paste - Paste As New Layer
Activate selection tool (Press K on your keyboard)
And enter the following parameters:
Pos X :539 – Pos Y : 4
Press M.
Opacity 32
9.
Image - AddBorders - Symmetric. 1 pixel, color #000134
Image - AddBorders - Symmetric. 1 pixel, color #ffffff
Image - AddBorders - Symmetric. 1 pixel, color #000134
Selections- Select All
Image - AddBorders - Symmetric.45pixel, color #ffffff
Effects - 3D Effects - DropShadow
3/3/50/10 color:#000000
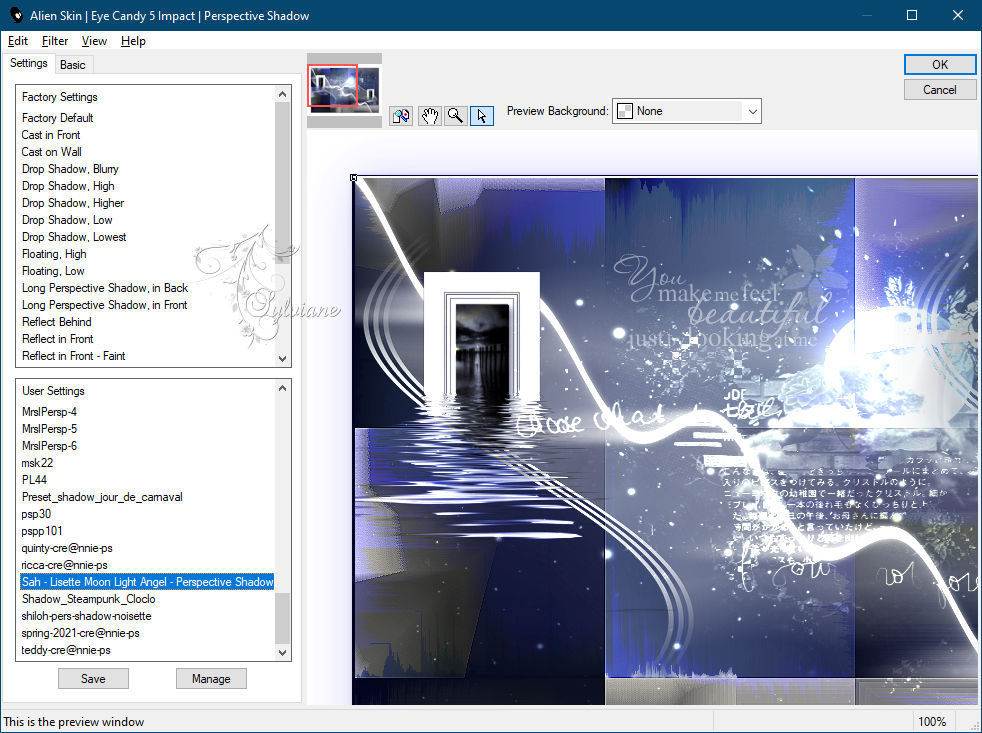
Plugin - Alien Skin EyeCandy 5:Impact -PerspectiveShadow
Sah - Lisette Moon LightAngel - PerspectiveShadow
Selections _ Select None
Image - AddBorders - Symmetric. 1 pixel, color #000134
10.
Open - Tube -Mary 220112 - 1 Png
Edit - Copy
Activate your work
Edit - Paste - Paste As New Layer
Image - Resize -80%
Activate selection tool (Press K on your keyboard)
And enter the following parameters:
Pos X :125 – Pos Y : 4
Press M.
Effects - 3D Effects - DropShadow
3/3/50/10 color:#000000
Adjust - Sharpnes- Sharpen
11.
Open - Deco - Sah -Lisette Moon LightAngelDeco
Edit - Copy
Activate your work
Edit - Paste - Paste As New Layer
12.
Open - Text- Sah Lisette Moon LightAngelText
Edit - Copy
Activate your work
Edit - Paste - Paste As New Layer
Activate selection tool (Press K on your keyboard)
And enter the following parameters:
Pos X :564 – Pos Y : 570
Press M.
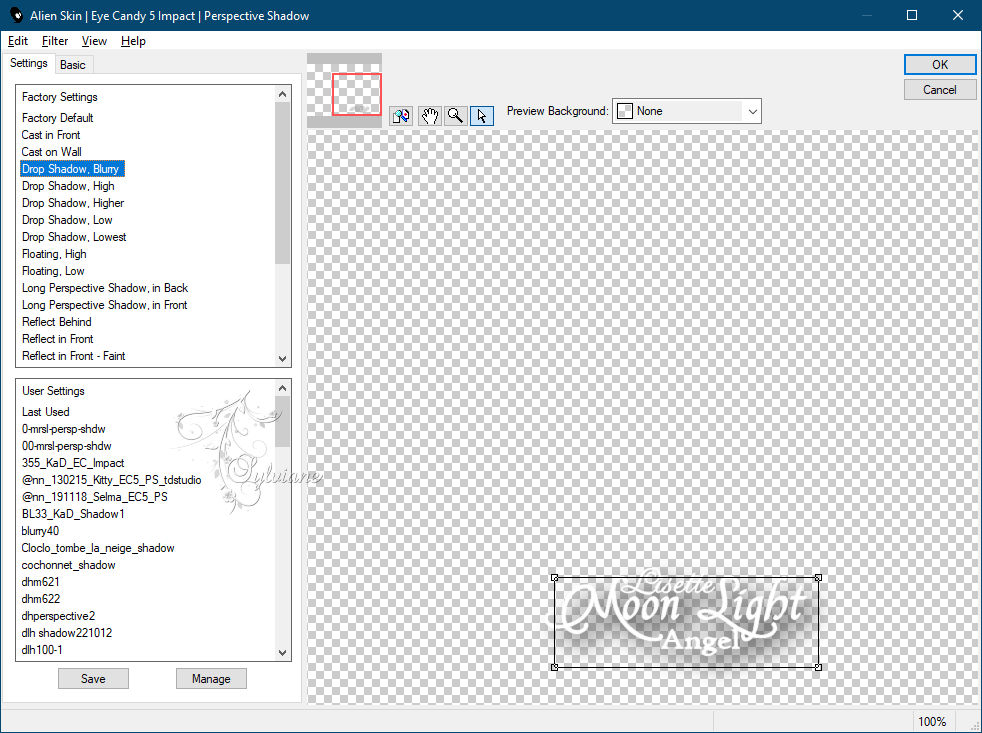
Plugin - Alien Skin EyeCandy 5:Impact -PerspectiveShadow
DropShadow , Blurry
Put YourWatermarkt
Image - Resize 900 Pixels
Save JPEG
Back
Copyright Translation © 2021 by SvC-Design